This article describes how to install WhatsApp Notification for WHMCS module. Installing this module is very easy and should not take more than a minute. We assume you already have a working WHMCS system with admin privileges.
1. Purchase
First of all, you will need a valid purchase of the WhatsApp Notification Module for your WHMCS. If you have not purchased the module, please do so by clicking on the following link.
https://www.cloudspace.com.sg/billing/store/whmcs-modules
2. Download
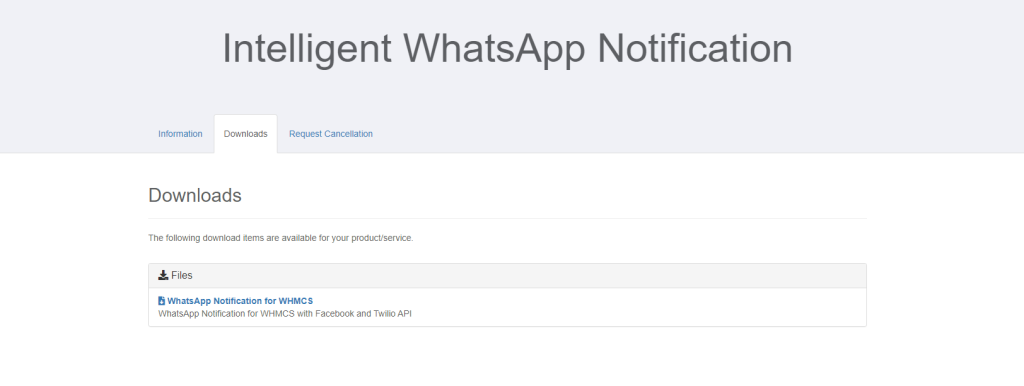
- Login to your Client Area on CloudSpace
- Click on Services -> My Services
- Click on Intelligent WhatsApp Notification under Products/Services
- Take a note of your License Key
- Click Downloads
- Click on WhatsApp Notification for WHMCS
- An automatic download should then start.

3. Uploading the relevant files
- You will need to connect to your FTP Server for your WHMCS, if you dont have a FTP Program, you can download and install FileZilla
- Extract the zip file to your computer
- After connecting to your WHMCS FTP, navigate to your whmcs system
- upload the folder cloudspace_whatsapp to {whmcsfolder}/modules/addon
- upload the folder whatsapp_2fa to {whmcsfolder}/modules/security
- Thats it! You have successfully uploaded the modules!
4. Activation
After you have successfully uploaded the plugin to the relevant folder, login to your WHMCS Admin account.
- Login to WHMCS Admin account
- Navigate to General Settings by clicking on the wrench icon
- Search and click ADDON Modules
- In here, you will find WhatsApp Messages
- Click Activate and then Configure
- Provide full access to the relevant users , eg Full Administrator

5. Input License Key
- After providing full access, navigate to Addons
- Click WhatsApp Messages
- Click Settings
- Paste your License information under License Key option

For the rest of the setup, please view the appropriate articles.


